Cooking Techniques
PanPotPlates
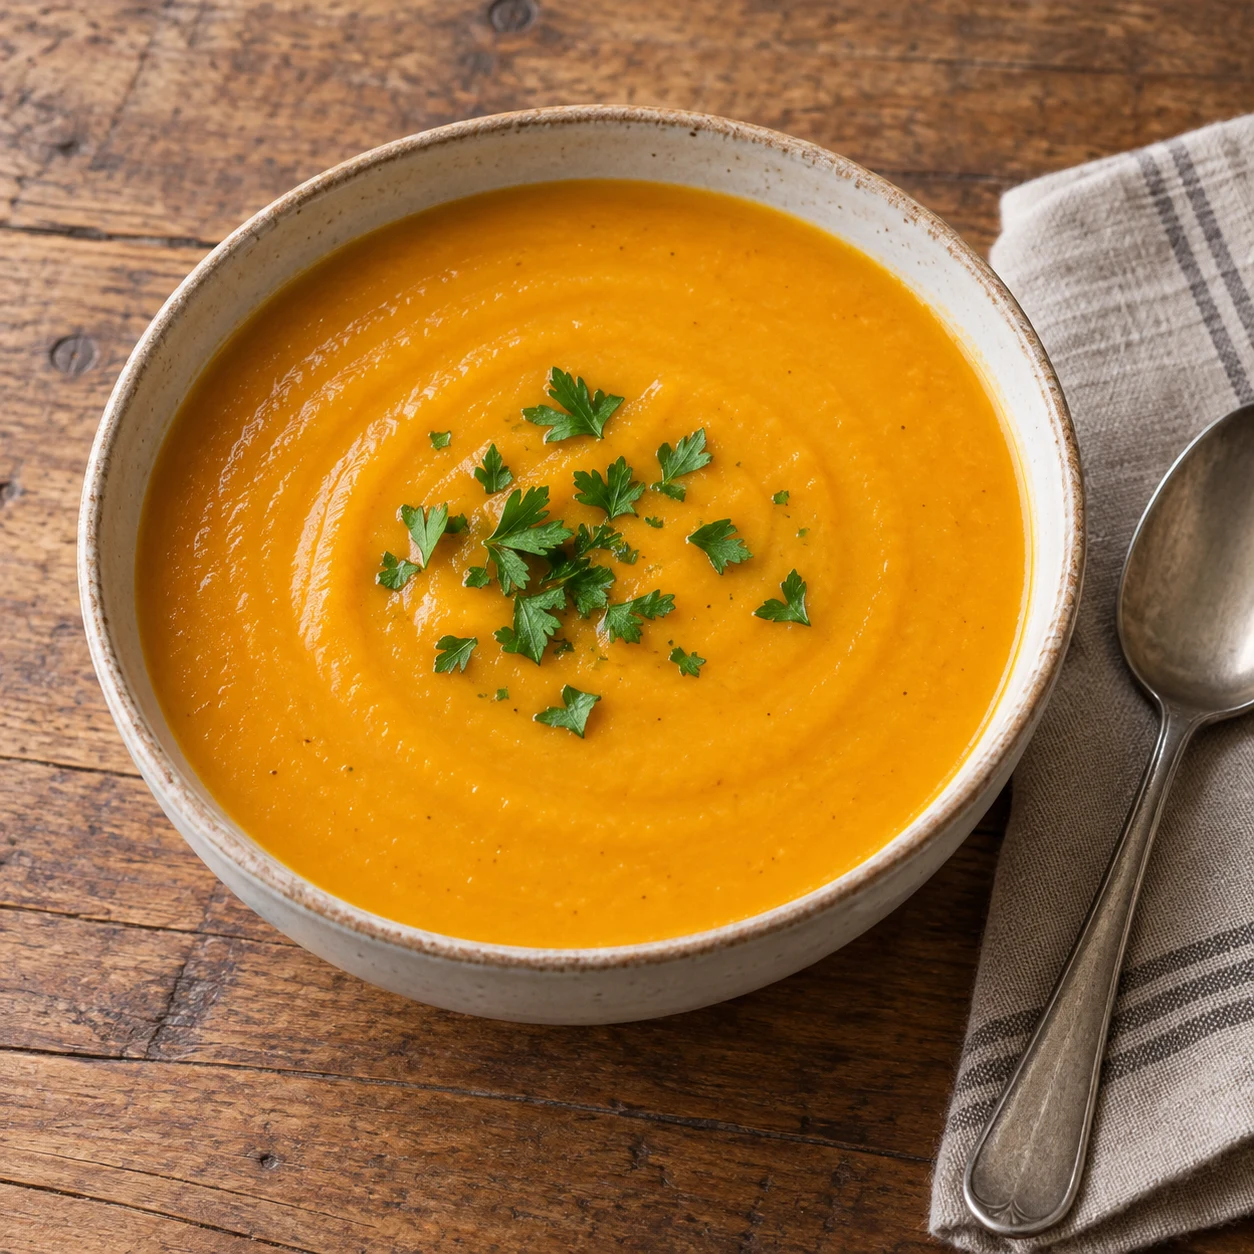
Instant Pot Creamy Butternut Squash Soup
This Instant Pot Creamy Butternut Squash Soup recipe is a quick, easy, and healthy dairy-free comfort food option. Made with seasonal butternut squash and warming spices, it's a gluten-free, vegetarian soup perfect for cozy weeknight dinners and family meals prepared in just 30 minutes.
Ingredients
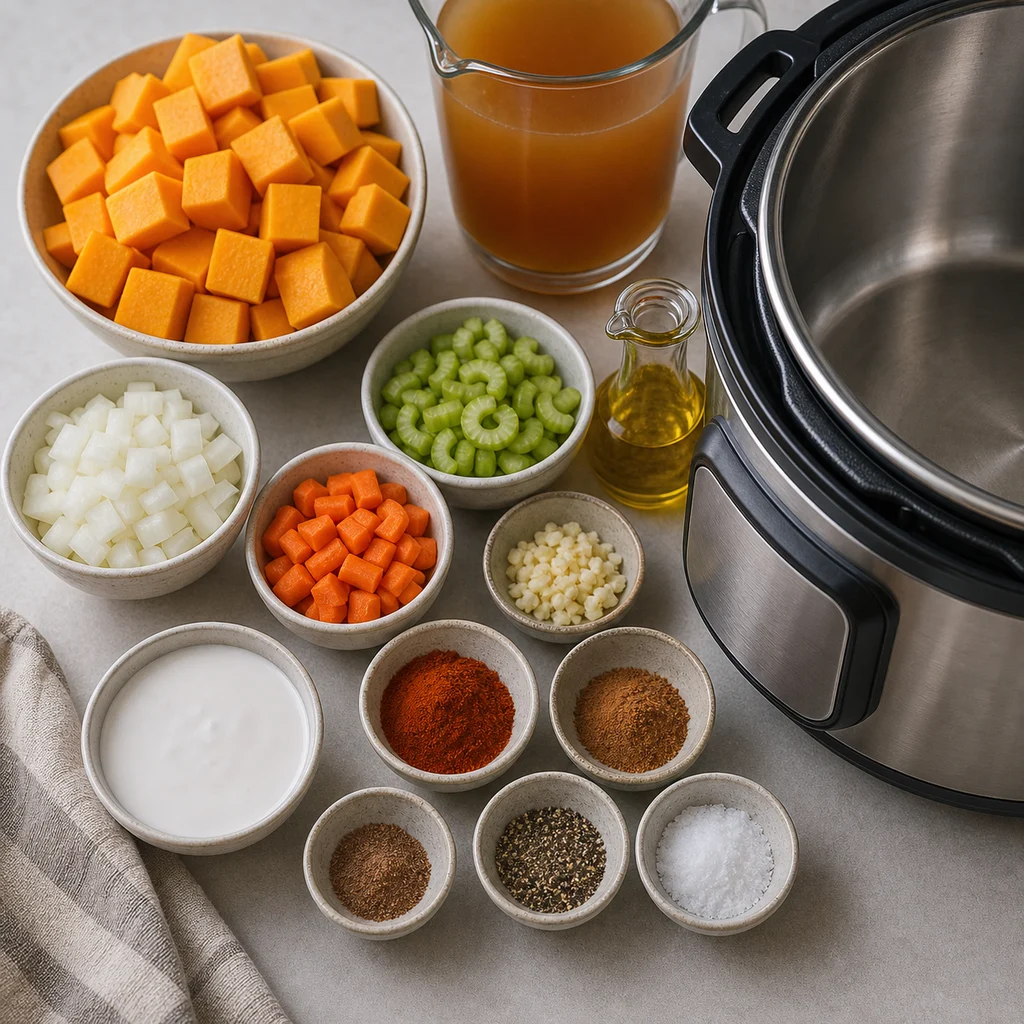
- 1 medium butternut squash (about 2 to 2.5 pounds), peeled, seeded, and cubed
- 1 medium yellow onion, chopped
- 3 cloves garlic, minced
- 1 medium carrot, peeled and chopped
- 1 stalk celery, chopped
- 4 cups low-sodium vegetable broth
- 1 teaspoon ground cinnamon
- 1/2 teaspoon ground nutmeg
- 1/2 teaspoon smoked paprika
- 1/2 teaspoon salt, or to taste
- 1/4 teaspoon black pepper
- 1 tablespoon olive oil
- 1/2 cup canned coconut milk (full fat for creaminess)
- Fresh parsley or chives for garnish (optional)
Instructions
-
Set the Instant Pot to 'Sauté' mode and heat the olive oil.
-
Add the chopped onion, carrot, and celery; sauté for 3-4 minutes until softened.
-
Stir in the minced garlic and cook for 30 seconds until fragrant.
-
Add the cubed butternut squash, ground cinnamon, nutmeg, smoked paprika, salt, and black pepper; stir to combine.
-
Pour in the vegetable broth, scraping the bottom of the pot to loosen any browned bits.
-
Secure the lid and select 'Pressure Cook' or 'Manual' on high pressure for 8 minutes.
-
Once cooking finishes, allow a natural pressure release for 5 minutes, then carefully perform a quick release for any remaining pressure.
-
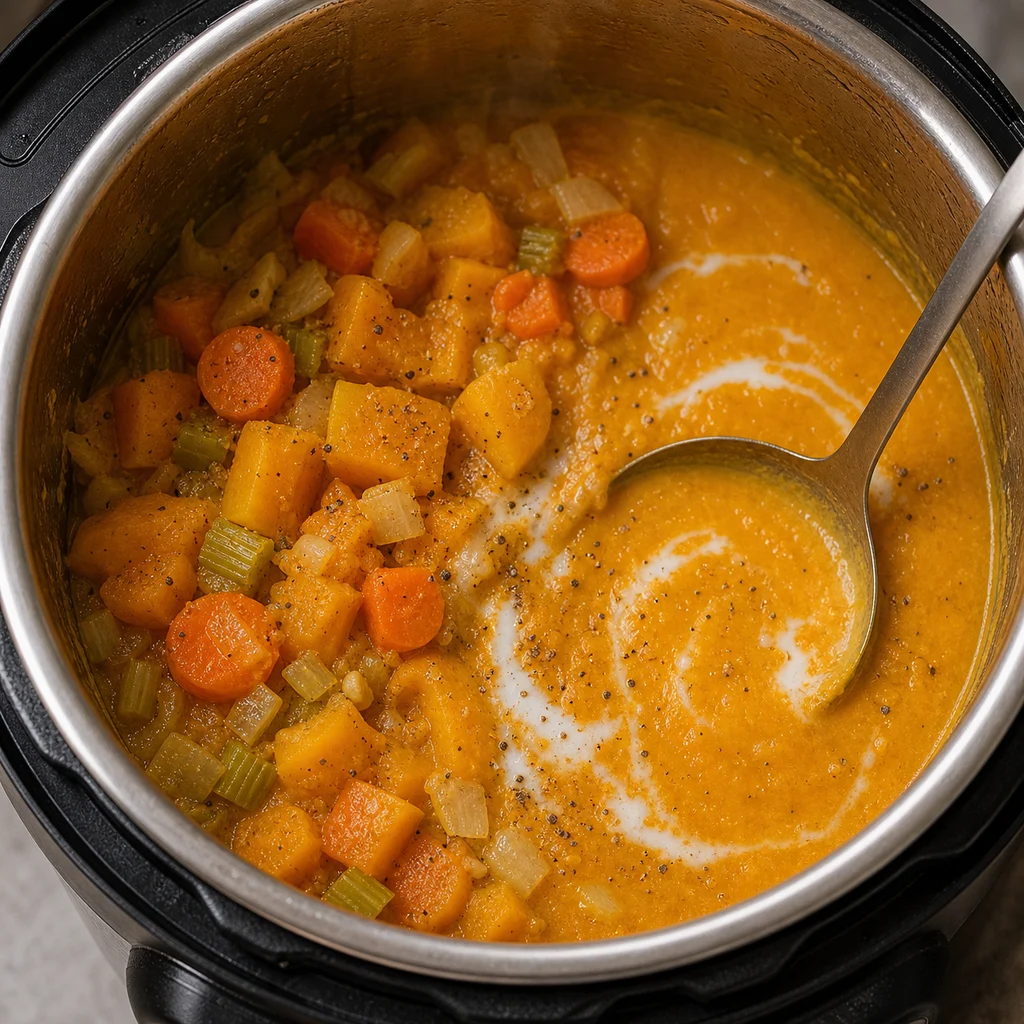
Use an immersion blender to puree the soup directly in the pot until smooth and creamy. Alternatively, blend in batches using a countertop blender, then return the soup to the pot.
-
Stir in the coconut milk until well combined and heat for 1-2 minutes on 'Sauté' mode.
-
Adjust seasoning with additional salt and pepper if needed.
-
Serve hot, garnished with fresh parsley or chives if desired.
Tips
Pan Or Pot Required
This recipe is specially designed for the Instant Pot , enabling a true one-pot soup experience.
Cookware Size Guidance
A 6-quart Instant Pot is the ideal size for this recipe, as it comfortably holds the volume of ingredients—such as the 4 cups of broth and cubed butternut squash—to serve 6 people safely.
Cookware Swap Guidance
This Instant Pot Creamy Butternut Squash Soup recipe optimizes the convenience of pressure cooking combined with sautéing and blending functions in a single pot.
Leftovers Quality
Reheat gently and add a splash of liquid when needed to keep the texture moist and tender.
Frequently Asked Questions
- Can I make Instant Pot Creamy Butternut Squash Soup ahead?
- Yes. Prep the ingredients or cook the full dish ahead, then reheat gently so the texture stays close to freshly made.
- What cookware works best?
- Use a Instant Pot or electric pressure cooker and avoid crowding so the recipe cooks evenly.
- How do I know it is done?
- Follow the recipe timing, then check the main ingredient for tenderness, bubbling, browning, or safe doneness before serving.
- Can I adjust the seasoning?
- Yes. Taste near the end and adjust salt, acid, herbs, or heat in small amounts.
Customize this Instant Pot Creamy Butternut Squash Soup to fit different dietary preferences or ingredient availability with these easy swaps:
- Butternut squash: Substitute with pumpkin or kabocha squash for similar creamy texture and seasonal warmth.
- Vegetable broth: Use chicken broth if not vegetarian, or opt for homemade broth or water with bouillon for flavor.
- Coconut milk: Swap for alternative dairy-free milks such as canned almond milk, oat cream, or opt for heavy cream if dairy is preferred.
- Spices: Adjust or omit smoked paprika and nutmeg according to taste or availability.
- Olive oil: Replace with avocado oil or other neutral oils like sunflower or canola oil.
These substitutions keep the soup healthy, quick, family-friendly, and full of comforting flavors while offering flexibility for your kitchen and diet needs.
Storage and Reheating
Cool Instant Pot Creamy Butternut Squash Soup before storing. Refrigerate leftovers in an airtight container for up to 4 days.
Freeze portions for longer storage when the ingredients are freezer-friendly. Reheat gently with a splash of liquid if the dish looks dry.
Related Articles
Read related air fryer guides and cooking tips.
More Recipes
Explore more recipes you may like.
Reviews
Rate this recipe and share a photo of your result.
No reviews yet.
Save this recipe
Log in to keep this recipe in your favorites.
Reset password Register