PanPotPlates

Instant Pot Recipes

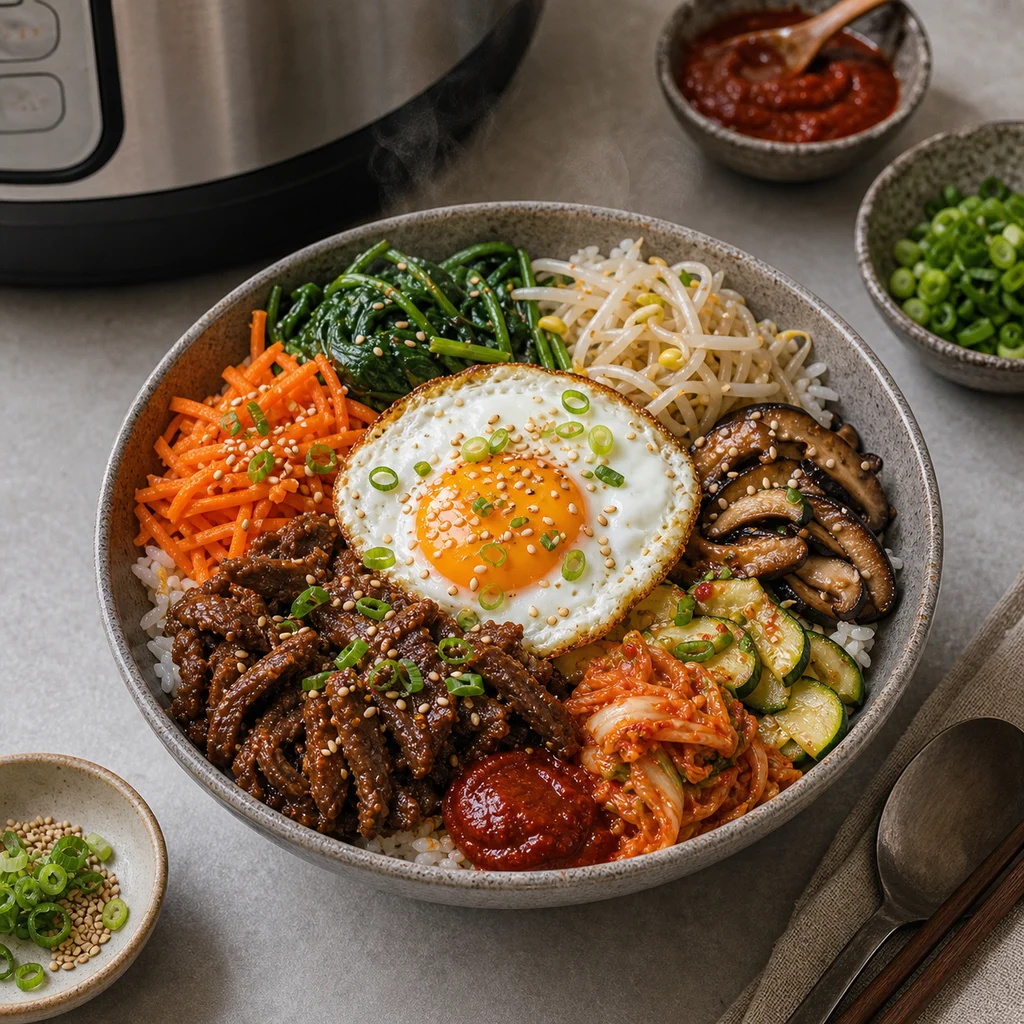
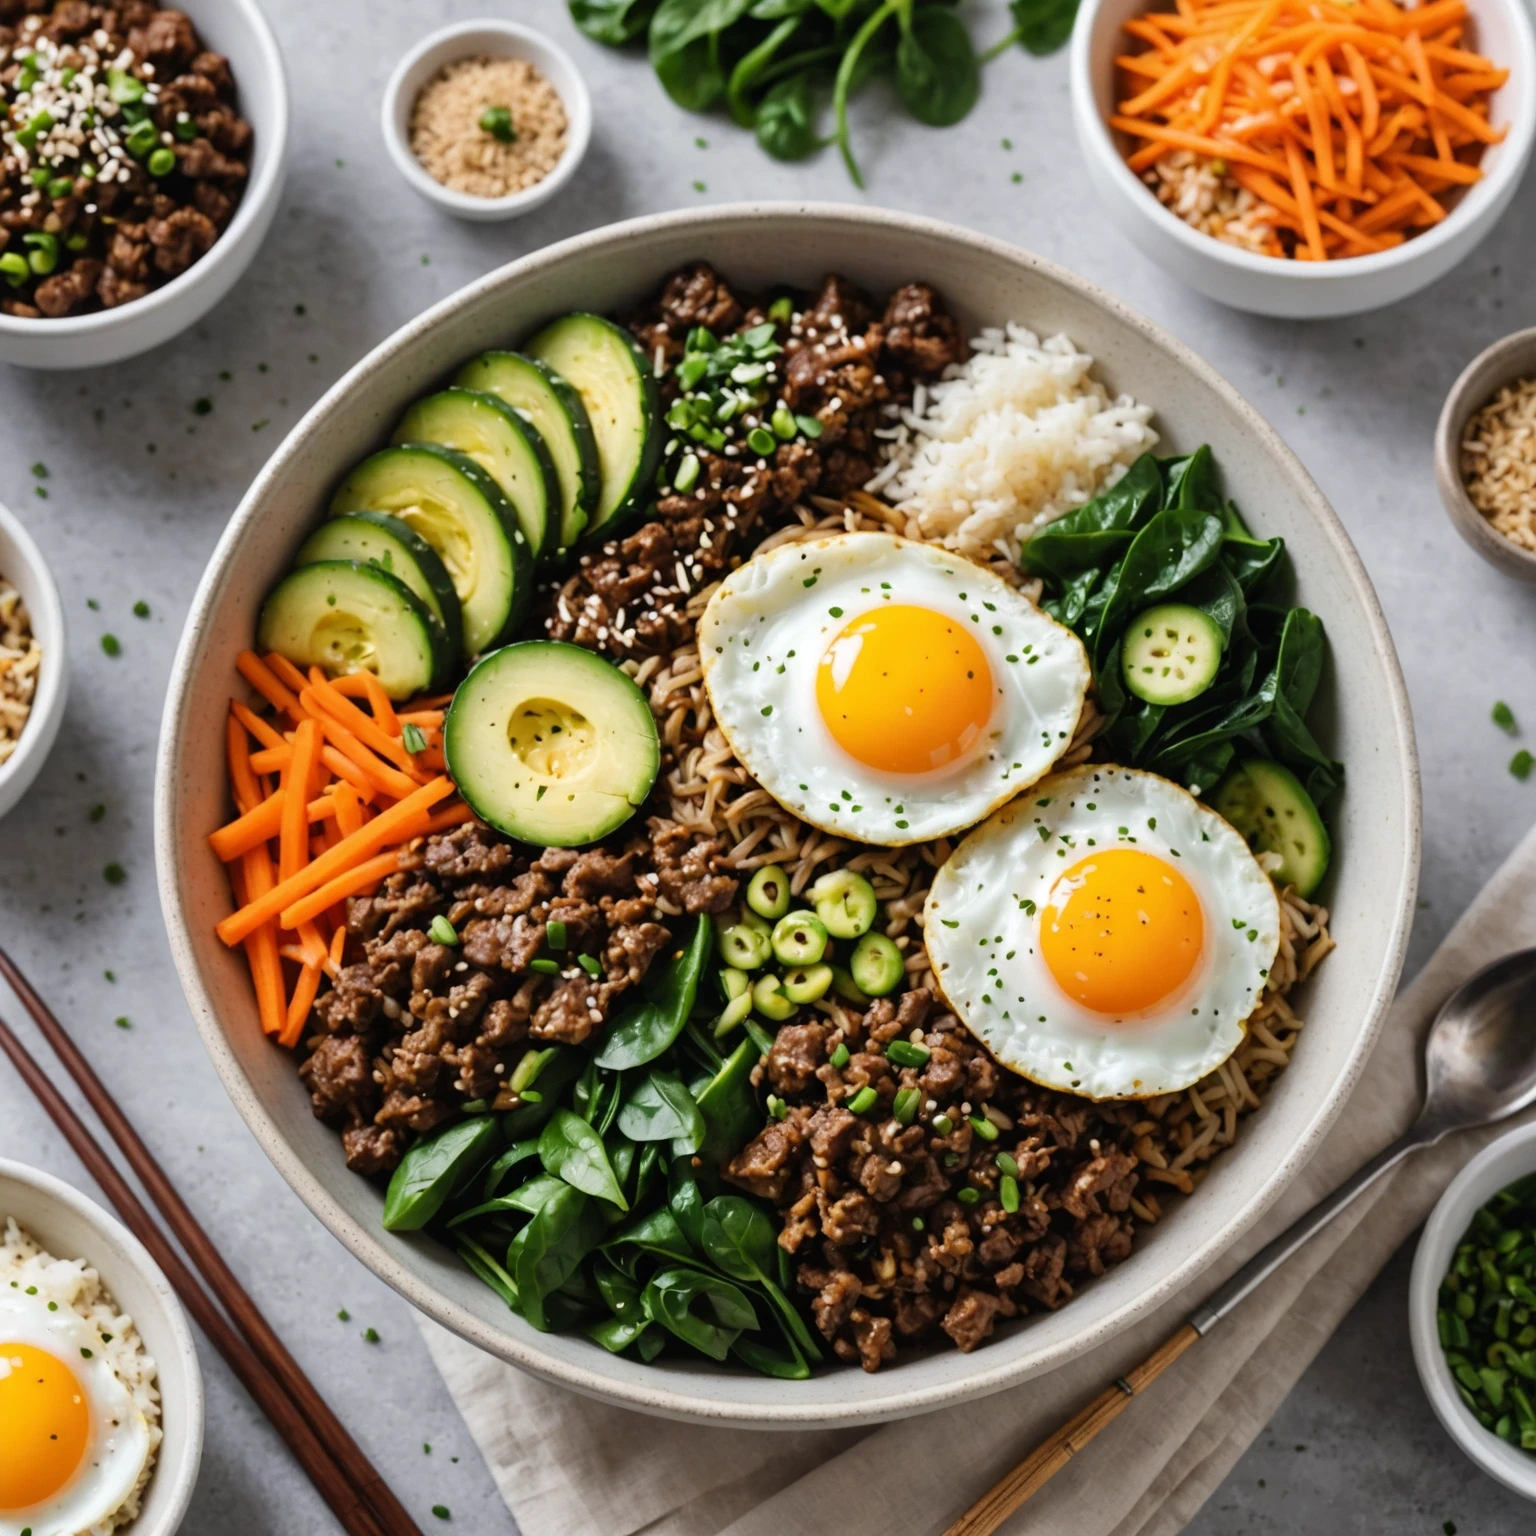
Instant Pot Spicy Korean Beef and Vegetable Bibimbap

By PanPotPlates Test KitchenReviewed by PanPotPlates Editorial TeamPublished Apr 15, 2026 · Updated May 11, 2026
Korean-Inspired 40 mins instantpotonepotquickeasyfamily-friendlyhealthyhighproteinflavorfulmealprepweeknightlowcarb

Instant Pot Spicy Korean Beef and Vegetable Bibimbap is a practical PanPotPlates recipe built for dependable weeknight cooking.
Instant Pot Spicy Korean Beef and Vegetable Bibimbap
Prep 15 min
Cook 25 min
Total 40 min
Servings 4
Difficulty easy
Cuisine Korean-Inspired

Recipe Details

Prep15 min
Cook25 min
Total40 min
Servings4
Difficultyeasy
CuisineKorean-Inspired
Add To Favorites

Ingredients

Servings 4
  • 1 1/2 cups jasmine or short-grain rice, rinsed and drained
  • 1 3/4 cups water or low-sodium beef broth
  • 1 lb lean ground beef
  • 2 tablespoons gochujang (Korean red chili paste)
  • 1 tablespoon soy sauce
  • 1 tablespoon sesame oil, divided
  • 1 tablespoon brown sugar
  • 3 cloves garlic, minced
  • 1 teaspoon grated fresh ginger
  • 1 small zucchini, julienned
  • 1 medium carrot, julienned
  • 1 cup shiitake mushrooms, sliced
  • 2 cups fresh spinach
  • 2 green onions, thinly sliced
  • 2 large eggs
  • 1 tablespoon vegetable oil
  • 1 tablespoon toasted sesame seeds
  • Salt and pepper, to taste
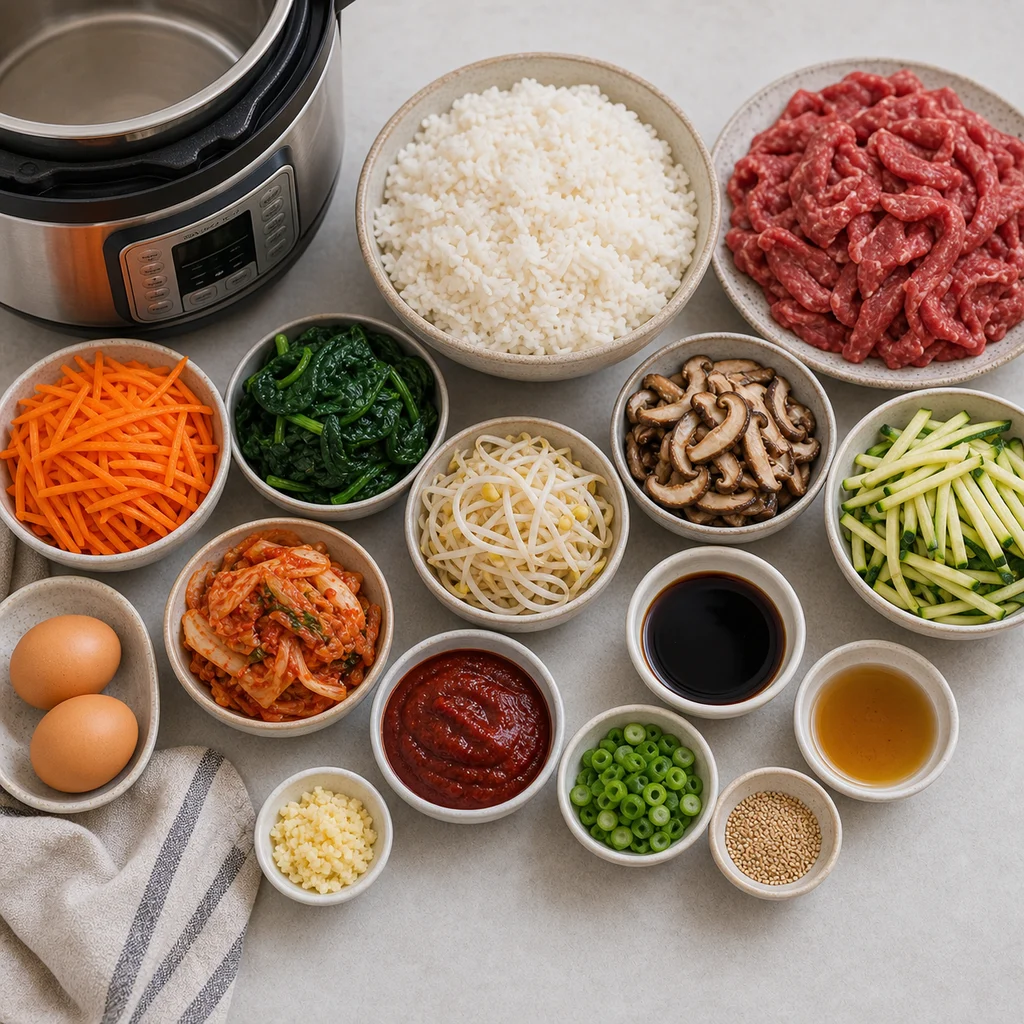
Ingredients for Instant Pot Spicy Korean Beef and Vegetable Bibimbap

Instructions

  1. Set the Instant Pot to 'Sauté' mode and add 1 tablespoon sesame oil and vegetable oil.
  2. Once oil is hot, add minced garlic and grated fresh ginger; sauté for 30 seconds until fragrant.
  3. Add lean ground beef, season with salt and pepper, and cook until browned, breaking up the meat with a spoon, about 5 minutes.
  4. Stir in gochujang, soy sauce, and brown sugar, mixing thoroughly to coat the beef evenly. Cook for an additional 1-2 minutes to blend flavors.
  5. Push the beef mixture to one side of the Instant Pot. Add zucchini, carrot, and shiitake mushrooms to the other side and sauté for 3-4 minutes until slightly tender.
  6. Evenly spread the rinsed rice over the beef and vegetables. Pour water or beef broth over the rice without stirring.
  7. Close the lid, set the valve to sealing, and cook on 'Pressure Cook' (Manual) at high pressure for 6 minutes.
  8. Allow a natural pressure release for 10 minutes, then carefully perform a quick release to release any remaining pressure.
  9. Open the lid and top with fresh spinach and sliced green onions. Close the lid and let it sit on 'Keep Warm' mode for 2 minutes to wilt the spinach.
  10. In a separate skillet, heat a small amount of oil over medium heat and fry eggs sunny side up or to preferred doneness.
  11. Gently fluff the rice and vegetable mixture with a fork to slightly combine the layers.
  12. Divide the bibimbap into serving bowls, top each with a fried egg, and sprinkle with toasted sesame seeds before serving.
Instant Pot Spicy Korean Beef and Vegetable Bibimbap cooking in the recommended pan or pot

Tips

Pan Or Pot Required

This recipe is crafted specifically for the Instant Pot , an indispensable multi-functional electric pressure cooker that delivers a flavorful and tender Korean-inspired bibimbap all in one pot.

Cookware Size Guidance

For the Instant Pot Spicy Korean Beef and Vegetable Bibimbap , a 6-quart Instant Pot is ideal.

Cookware Swap Guidance

This Instant Pot Spicy Korean Beef and Vegetable Bibimbap shines as a quick, easy one-pot meal perfect for Instant Pot cooking.

Leftovers Quality

Reheat gently and add a splash of liquid when needed to keep the texture moist and tender.

Frequently Asked Questions

Can I make Instant Pot Spicy Korean Beef and Vegetable Bibimbap ahead?
Yes. Prep the ingredients or cook the full dish ahead, then reheat gently so the texture stays close to freshly made.
What cookware works best?
Use a Instant Pot or electric pressure cooker and avoid crowding so the recipe cooks evenly.
How do I know it is done?
Follow the recipe timing, then check the main ingredient for tenderness, bubbling, browning, or safe doneness before serving.
Can I adjust the seasoning?
Yes. Taste near the end and adjust salt, acid, herbs, or heat in small amounts.

Customize your Instant Pot Korean Beef and Vegetable Bibimbap to fit dietary needs, preferences, or ingredient availability with these easy substitutions:

  • Ground Beef: Substitute with ground turkey, chicken, or plant-based crumbles to reduce fat or accommodate vegetarian diets (replace eggs accordingly for vegan options).
  • Gochujang: Replace with chili garlic sauce mixed with miso paste to achieve a similar spicy-sweet depth if unavailable.
  • Soy Sauce: Use tamari or coconut aminos for gluten-free and soy-free versions.
  • Rice: Swap jasmine or short-grain rice with brown rice for more fiber or cauliflower rice for a low-carb, keto-friendly alternative (adjust cooking times accordingly).
  • Eggs: Omit for vegan meals or replace with sautéed mushrooms, tofu scramble, or avocado slices for richness.
  • Vegetables: Feel free to substitute zucchini, carrot, or shiitake mushrooms with seasonal vegetables like bell peppers, snap peas, or bok choy for variety.
  • Sesame Oil: Use toasted walnut or avocado oil if allergies are a concern.

These replacements ensure your bibimbap stays nutritious, flavorful, and perfect for a family-friendly, easy weekday dinner.

Storage and Reheating

Cool Instant Pot Spicy Korean Beef and Vegetable Bibimbap before storing. Refrigerate leftovers in an airtight container for up to 4 days.

Freeze portions for longer storage when the ingredients are freezer-friendly. Reheat gently with a splash of liquid if the dish looks dry.

Related Articles

Read related air fryer guides and cooking tips.

More Recipes

Explore more recipes you may like.

Reviews

Rate this recipe and share a photo of your result.

No reviews yet.

Newsletter

Stay In The Loop

Get fresh recipes, articles, and updates from PanPotPlates.